Discover the art of baking perfect sandwich bread with our foolproof recipe that results in soft, tender loaf each and every time. Whether you are a consistent baker or seasonal pro, this versatile sandwich bread recipe is all set to level up your cooking game. Stay with Foodieswine for more recipes.
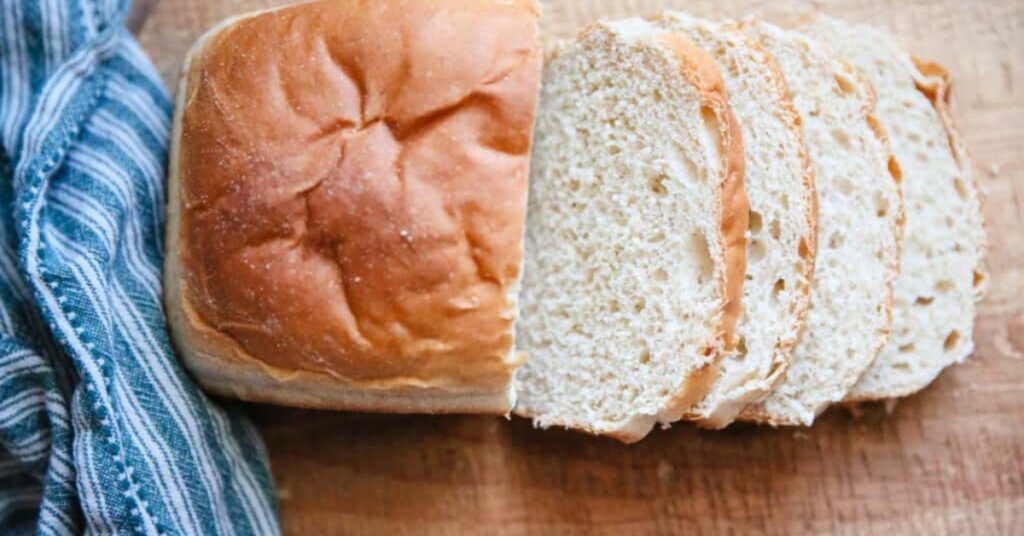
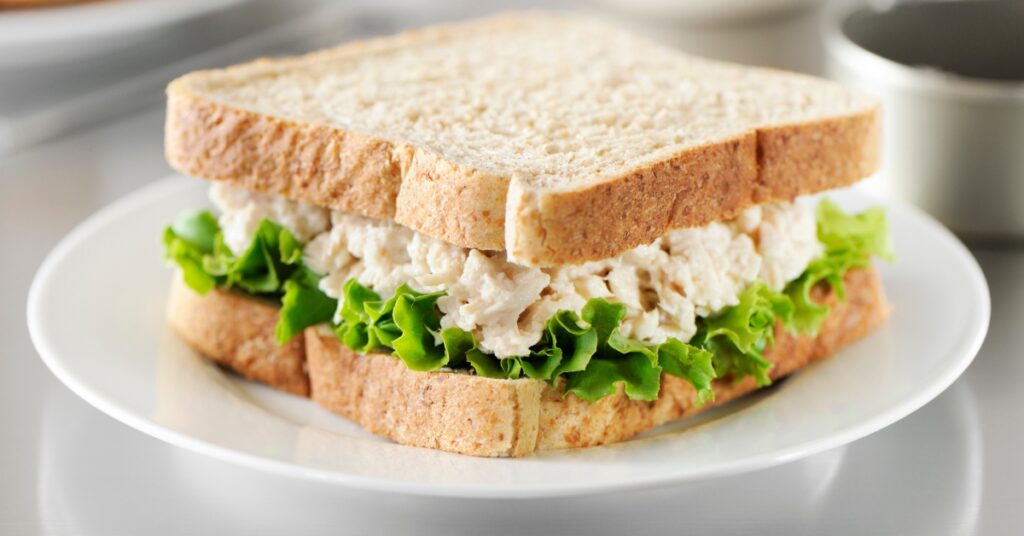
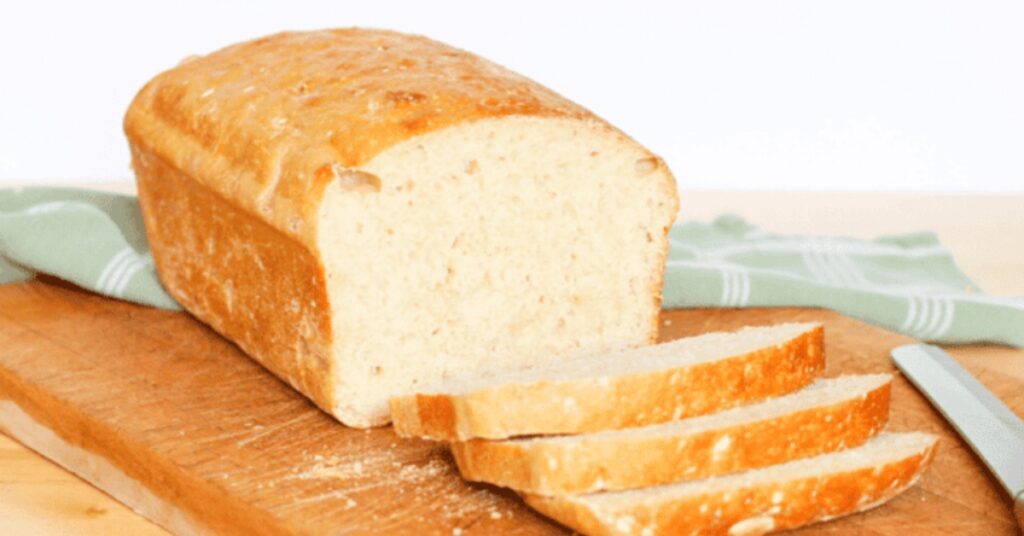
With golden brown crust and soft interior, this classic bread is perfect for everything from morning toast to lunchtime sandwiches. We’ll guide you through the step by step sandwich bread recipe which will shift your sandwiches from ordinary to extraordinary. Say goodbye to store bought breads and hello to the premium quality DIY bread.
Why You’ll Love This Recipe
Get ready to fall head over heels for this foolproof sandwich bread recipe! Whether you’re a seasoned baker or just starting your bread-making journey, this recipe delivers perfect results every time. The tender crumb and golden crust will make your kitchen smell like a French bakery!
- Beginner-Friendly: No fancy techniques required follow just simple steps that lead to bakery like results.
- Perfectly Soft Texture: with simple and easily available ingredients you can create perfect textured and soft bread but my secret is technique.
- Versatile Champion: Makes excellent sandwich bread, fantastic toast, and can be used for everything from PB&J to gourmet grilled cheese.
- Time-Tested:this is my tried and tested recipe which I’ve mastered after many years of practice.
- Make-Ahead Magic: you can simply make the dough and store it in fridge for few days so that’s how you can have hand on pre prepared material.
- Budget-Friendly: skip the expensive artisan loaves, make two perfect loaves for the price of one store bought sandwich bread.
INGREDIENTS
- Flour
- Yeast
- Sugar
- Water
- Salt
- Melted Butter
Flour – Let me tell you about the star of our show the unbleached all-purpose flour. I’m a bit picky here because this is what makes our bread truly special. While I love experimenting with different flours. for this classic white bread, we’re keeping it pure and simple. Trust me, it makes the most heavenly white bread you’ll ever bite into! (If you’re craving something heartier, though, I’ve got a fantastic Honey Whole Wheat recipe up my sleeve.)
Yeast The magical ingredient that brings our bread to life – active dry yeast! Here’s a little trick: I like to give the yeast a cozy bath in warm water with a sprinkle of sugar. It’s like giving them a perfect wake-up call before they work their magic on our dough.
Sugar Now, don’t worry about this bread tasting like dessert! The sugar is more like a supporting actor – it adds just enough sweetness to make the flavors sing together perfectly. Every bite is beautifully balanced, I promise.
Water Temperature matters here, friends! Think of it like a warm, welcoming spa for our yeast – around 85-90°F is the sweet spot. This cozy environment gets our little yeast friends all excited and ready to make our bread rise beautifully.
Salt I’m a bit of a salt snob (in a good way!). Either kosher or pink Himalayan salt will do wonders here. Just steer clear of regular table salt – we want our bread to have that chef’s-kiss perfection, you know?
Melted Butter Oh, this is where the magic happens! The secret to that pillowy-soft texture we all dream about in homemade bread. I’m a huge fan of European-style butter (Kerrygold is my absolute favorite!) because it’s richer and creamier. It’s a small splurge that makes a world of difference in the final result.

HOW TO MAKE PERFECT SOFT SANDWICH BREAD AT HOME
Step 1: Wake Up the Yeast
Let’s start with bringing back our yeast to life. In your stand mixer bowl (with a dough hook), Combine warm water, yeast and suger. Think of its as making a cozy little spa for your yeast buddie. Give them a gentle whisk and let them relax for 3-5 minutes until they’ve all risen and foamy. Once they are bubbly, add your melted butter and salt. Now give everything a quick whisk to Bring everything together.
Step 2: Create Your Dough
Now for the fun part begins. Start adding up the flour cup by cup into the mixture. Let each batch blend properly into each other before adding the next one. After 3-4 minutes of mixing, you’ll have a slightly shaggy dough if that’s the texture then it’s perfect. Turn this onto a clean counter and give it a quick 1-2 Min hand massage (aka knead) until it feels smooth and looks perfectly blended. Now pop it into an oiled bowl and cover it and let it set for a hour until it doubles its size.
Step 3: Prep and Shape
While your dough is perfectly prepared then get your oven warmed up to 375°F and prep two 9×4 pans with a light coating of oil spray. Once your dough has doubled the size , divide it into two equal parts. Think of this next part as tucking your dough into bed, pat each piece into a 9-inch wide rectangle, then roll it up like a cozy blanket. Place each roll seam-side down in your prepared pans.
Step 4: The Second Rise
Cover your loaves with a clean kitchen towel and let them rise again for about 45 to 60 minutes. The peak height they can achieve is half an inch above the rim of the pan. This is a time to preheat the own if you haven’t already.
Step 5: Bake and Cool
The grand finale! Bake your loaves for 25-30 minutes before giving it a little rotation in the halfway mark to achieve that appetizing golden brown top. When they’re finished baking (tall, proud and golden), allow them to cool in their pans for 5 minutes – I know it’s hard not to immediately devour but it’s worth it! Then transfer them onto a wire rack to cool until they are ready to be sliced into that crusty surface.
Remember, every loaf is a new adventure in baking. Even if your first try isn’t perfect, you’re still making fresh, homemade bread – and that’s pretty amazing!
“I know it’s super tempting to cut a slice of freshly baked sandwich bread while it’s still warm, but resist that urge! If you slice the bread before it’s cooled and the starches haven’t set yet, the steam still inside the bread will turn the starches to mush. No one wants mushy bread!”
Let’s Talk About Some Game-Changing Tips!
Is Your Yeast Ready to Party?
Yeast may be looked at as the social life of the bread party! Still interested in dancing, is yours? Here’s a quick test: For this you need to dissolved a pinch music (about half teaspoon) in warm water and whisk slightly in 5-7 minutes. If it gets all bubbly and foamy, you are a go getter! If it’s just sitting there doing nothing well then all we need to do is grab a new pack my buddy!
Keep Your Yeast Cozy
Give Your Yeast a Good Warm Camille’s little secret! I handle yeast the same way someone handles a special vital ingredient (because yeast is!). It needs to be kept in an airtight jar and then it can find its place in your refrigerator. Believe me, it will thank you by remaining fresh and active much longer than a regular setup!
Create a Bread Spa
Here’s a pro tip that’ll change your bread game: the temperature of your kitchen Does matter! If your kitchen is trying to dress comfortably for a formal occasion, meaning below 68°F, your dough may be a little slow. Oh, don’t worry! I’ve got a trick! Preheat your oven to 350°F for only 1 minute, then shut off the heat. Voilà! You have just set your kitchen for the dough to rise so happy and warm and cute in the most perfect of ways.
Time is Your Friend
Let’s be real – life gets busy, and it’s super easy to forget about your dough! Do yourself a favor and set a timer on your phone or oven. Future you will be so thankful for this simple reminder!
Tool Up for Success
As any artist requires his or her brush to put the final master piece together, so does a bread baker require a bunch of tools! Take a look at my essentials list below – these are the most amazing finds to ensure that this process is as effortless and fun as possible. Remember that good tools make happy baking!
Remember, these aren’t just tips – they’re your secret weapons for bread-making success!
STORAGE NOTES & FREEZING
Now it’s time in this delicious post about baking to discuss how you can maintain the freshness and taste of your delicious creation. There is no need to hear bad things about your homemade bread – so you should know how to keep it optimal and fresh. Those first 4-5 days? Pure heaven! That’s pretty much when the bread is at its absolute best when it comes to texture and, more importantly, taste. You just have to keep it in an airtight bag at room temperature and I recommend those resealable plastic bags where you can push as much air as you can out of it – imagine hugging it!
Here’s a crucial tip: don’t be tempted to put it in the fridge! I know this may sound counter-intuitive, but the cold air is your bread’s nemesis and will actually expire your bread a lot quicker. Nobody wants that!
Now, it is time to tell you about my number one tip on how to save bread – freezing! You’ve got two amazing options here:
The Whole Loaf Method:
Must freeze your beautiful loaf whole (ideal if you know you might have some special occasions coming up or you are cooking for a large number of people). When you are ready to serve it let it come to room temperature then it can be baked at 165 degrees C for 20-30 minutes. This will be fresh; in fact the taste will as if it has just come from the oven!
The Slice-and-Freeze Method:
This is personal……. I presume most of you already have a credit card handy EVERYDAY! Just cut your loaf, put the slices in the freezer bag (please, defrost it a little bit before using) and freeze. Then, each time the urge arises, one merely takes a piece directly from the freezer and toasts it in a toaster. Breakfast magic in minutes!
As always, the key is keeping bread at room temperature which makes happy bread which in turn makes a happy you!

TOOLS I USE TO MAKE HOMEMADE SOFT SANDWICH BREAD
- KitchenAid Stand Mixer
- Metal Bench Scraper
- 9×4 loaf pans
- Dough bowl Shower Caps
- Rubber Spatulas
SUBSTITUTIONS
This is your fail proof homemade sandwich bread recipe – tuck it away, you’ll be needing it soon! Contrary to what one would expect in a design that involves numbers, there is a certain want of creativity here, and yet one must be simple.
Stick to the Script: Make sure you follow the base recipe to the letter if you want that fluffy texture that you envision.
One Simple Swap: Making it vegan? But all I could suggest to make these healthier is to replace the melted butter with avocado oil that’s it!
Keep it Pure: This isn’t the recipe for trying a new cereal or extras – she’s good enough the way she is.
Creative Base: If you like the concept of cinnamon raisin bread? This makes for a great base – if you want to change something, don’t change the items mentioned above.
Trust the Process: One of the reasons I admire cookery is because some of the best dishes in the world involve the fewest ingredients. This is definitely one of those times!
Note – There isn’t a need for exotic ingredients to get the perfect bread, all that is required is dedication and a good sprinkling of love and detail.
Perfect Soft Sandwich Bread
the best loaf of homemade white sandwich bread ever! So simple, the process takes about 3 hours from start to finish
- Course bread
- Cuisine American
- Keyword easy bread, sandwich bread, white bread
- Prep Time 10 minutes
- Cook Time 30 minutes
- proof time 2 hours
- Servings 2 9×5 loaves
- Author LeAnne
FAQs
What type of bread is best for sandwiches?
White, whole wheat, ciabatta, and baguettes work well, depending on sandwich type.
What is the difference between sandwich bread and regular bread?
Sandwich bread is softer and sweeter, with a uniform texture. Regular bread varies in texture and flavor.
How to make homemade sandwich bread taste better?
Add honey, butter, or herbs, and let the dough ferment longer.

